“In one drop of water are found all the secrets of all the oceans.”
I've never been to the ocean, isn't that sad? I've flown over the Gulf of Mexico, but that doesn't count. Someday I will see the ocean and all is beautiful vastness, but for now, I can only imagine.
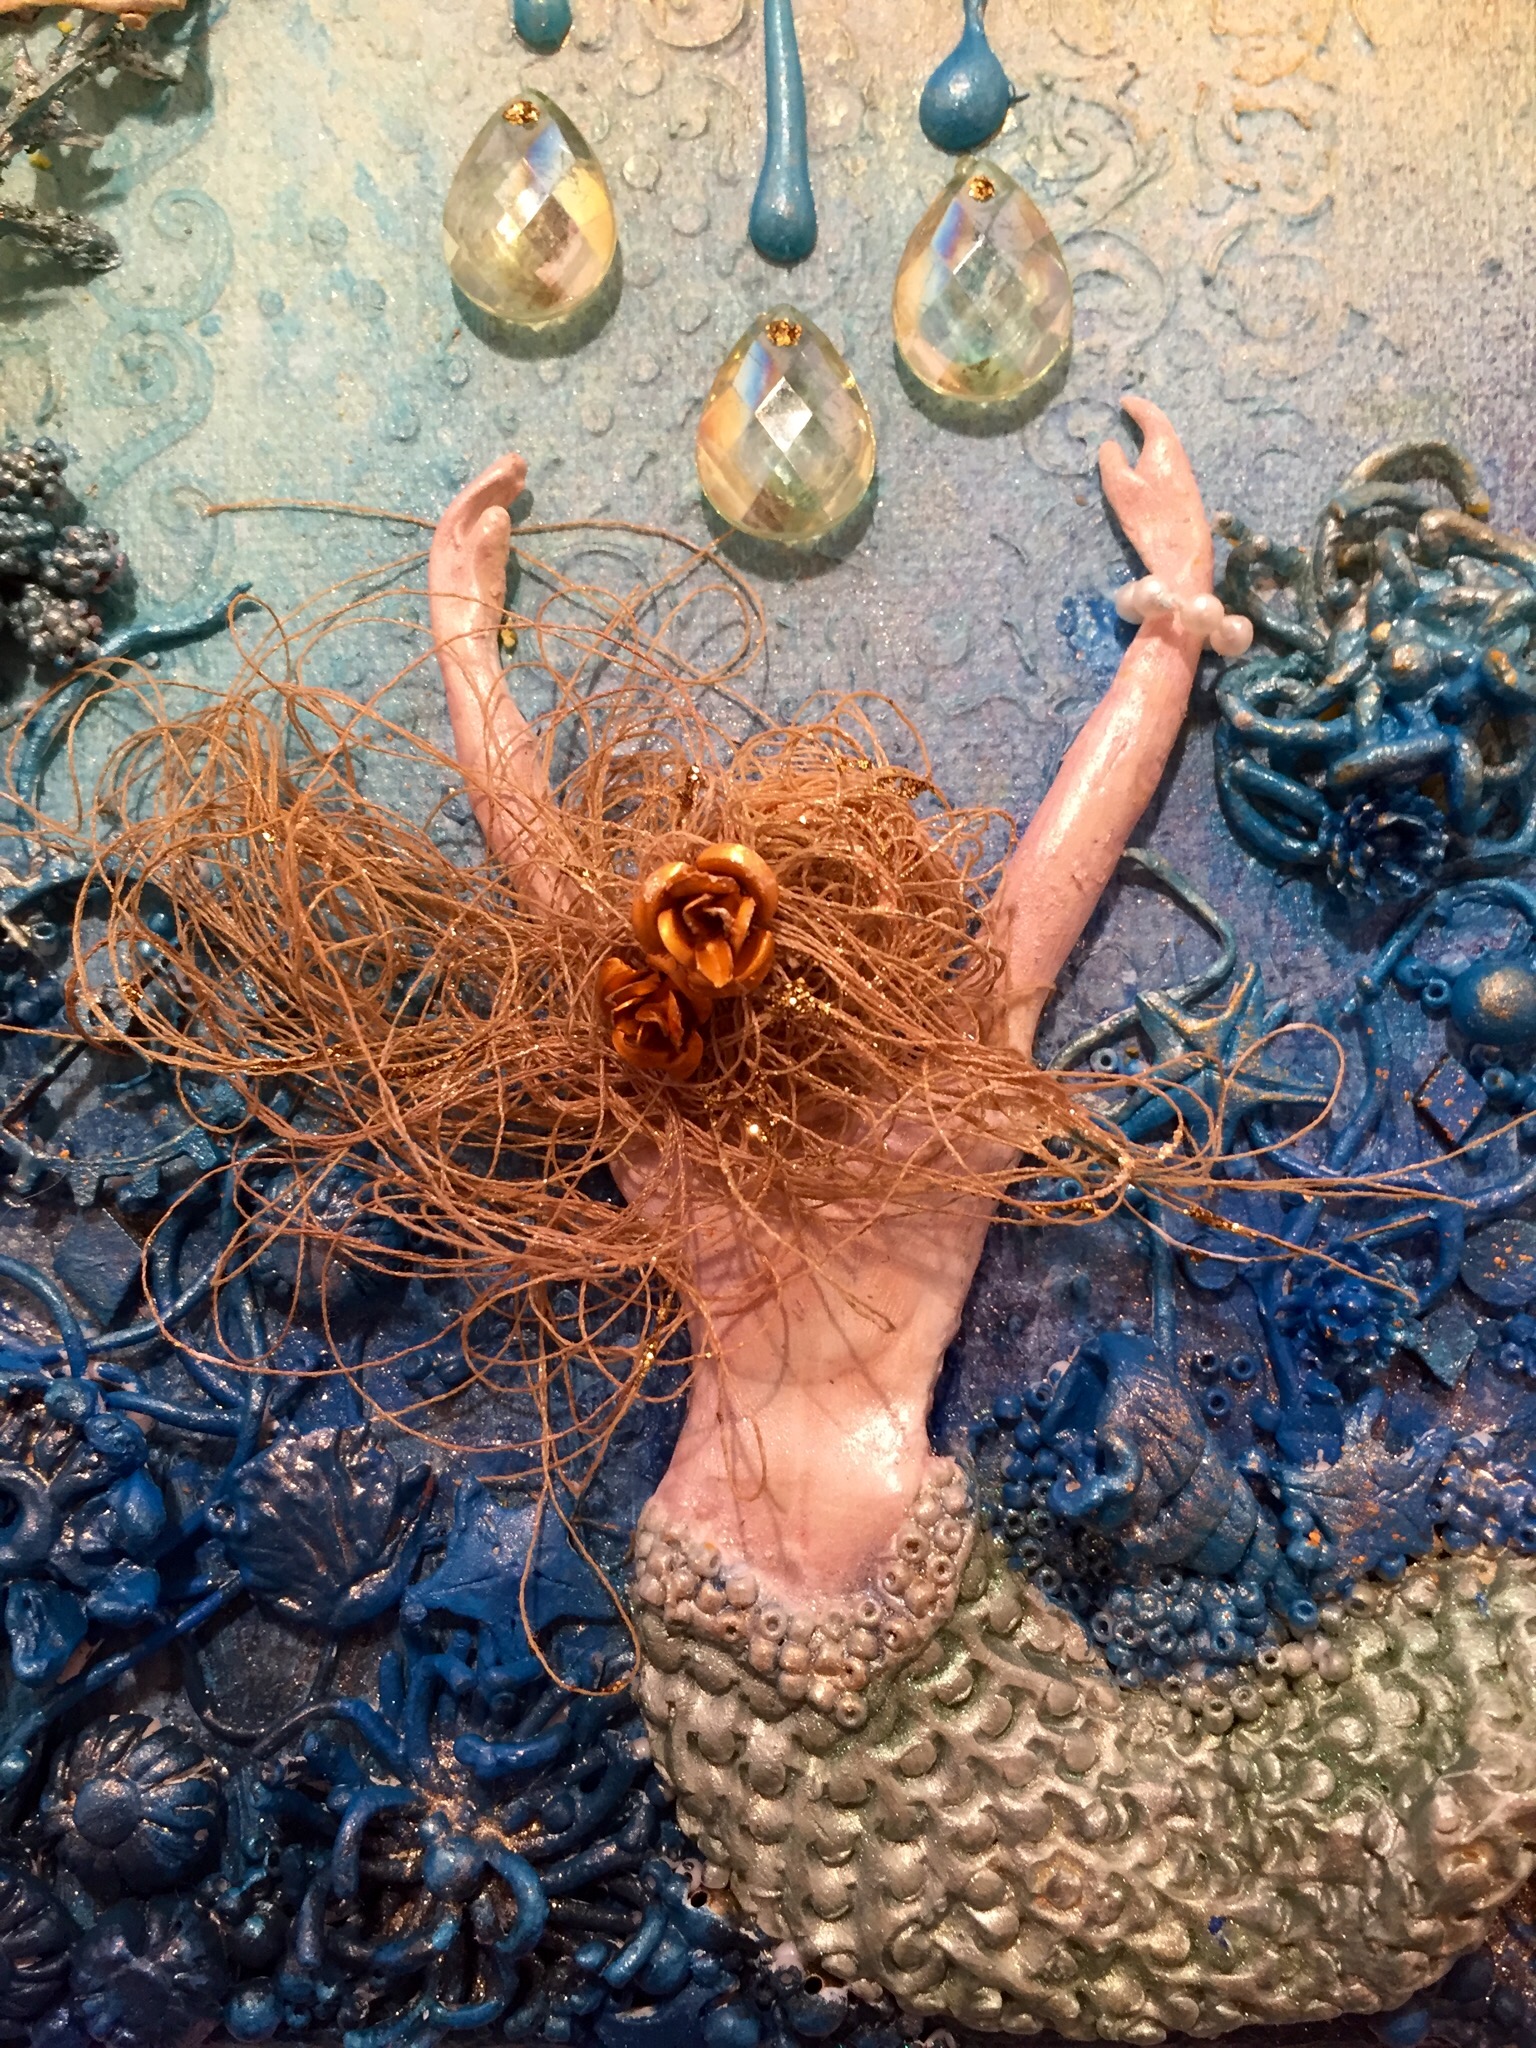
Oh my, I had a lot of messy fun making this one. I dragged out all my old polymer clay from when I made clay beads. That stuff is incredible, all the clay was still useable! I made shells, an old bottle, sea grass, a sand dollar, and other underwater lifeforms. Then, the mermaid. I thought I wouldn't be able to sculpt her, but thanks to an online tutorial by the talented Gabrielle Pollacco, I was able to create my sea princess.
A couple of side notes here, I sent the bottom (no pun intended) left photo to my daughter with the text 'your old barbie found work as a hand model. I've censored her bottom for privacy reasons.' She texted back, "You think you're funny, don't you?' Gee, why can't she just say, you are so funny, Mom!' Whatever... The last picture was from a garage raid - Gutter Guard - I thought it would make a good fisherman's net. Ssshhh - secrets now - Mr. Me will never miss it. Oh, and in keeping with my kitchen table art studio, you will see in the upper left photo some tools of my trade: a well loved cookie sheet, parchment paper and a garlic press.
After waiting for gesso and modeling paste to dry, I was ready for my background color. I wanted a mix of sand and sun at the top so I sprayed on Shimmerz Tuscan Sun, Color Bloom Tea Stain and Lindy's Clam Bake Beige. For the inky blue at the bottom of the ocean, I used Ranger's Dylusions London Blue, Marble Black and After Midnight. The mid-water is Prima's Color Bloom Glistening Waves and Cobalt Blue.
Embellish and glue followed by embellish and glue followed by color and highlight. Note to self: glue some on before background color! Okay, so that took forever!
I had set aside my sweet, little sand dollar which I glued to my altered thrift-store paint brush. My glue gun came out of hiding to make the messy brush drips. I wanted the brush and drips to indicate a 'being of the universe' washing her brush in the ocean depths. I tinted the drips and highlighted the items in the ocean with Finnabair's ArtAlchemy Rich Turquoise by Prima.
The upper half of the canvas includes found objects as I had run out out of the clay embellishments I had sculpted. I didn't want the fisherman's net to include any 'secrets' of the sea, but I did give him a pearl for his trouble.
Sidenote: While I was sculpting the mermaid, I had a flash from "The Way Back Machine" and remembered my daughter's 4th Birthday Party. Disney's Little Mermaid was very popular at the time so we had an '"Under the Sea" Party. I 'tried' my hand at cake decorating and fashioned a mermaid cake. My daughter's birthday is in the month of August and the temperature was, of course, at it's hottest. The frosting was melting as fast as I could apply it. But, my reason for this old memory is this: I had taken (temporarily) the legs off the barbie doll I was using as my mermaid model so I could just insert her upper torso into the cake...
The gasps of little girls were heard for blocks as I, bad mom, removed legless Barbie from the cake before serving. Hope those little party-goers have recovered from that traumatic sight!
Good times, good times :)


